Check Local Disks
Check Local Disks (Check Disk Applet) is an applet that will help you create and display a status report for your hard drive. The applet also lists and corrects error on the disk.
Similar to Windows CHKDSK, Check Disk has a list of parameters that help you perform various functions on your hard drive.
To use Check Disk:
- In the Active@ Boot Disk shell click .
- The Check Disk Applet workspace will appear with a list of all hard drives in the Local Disks list.
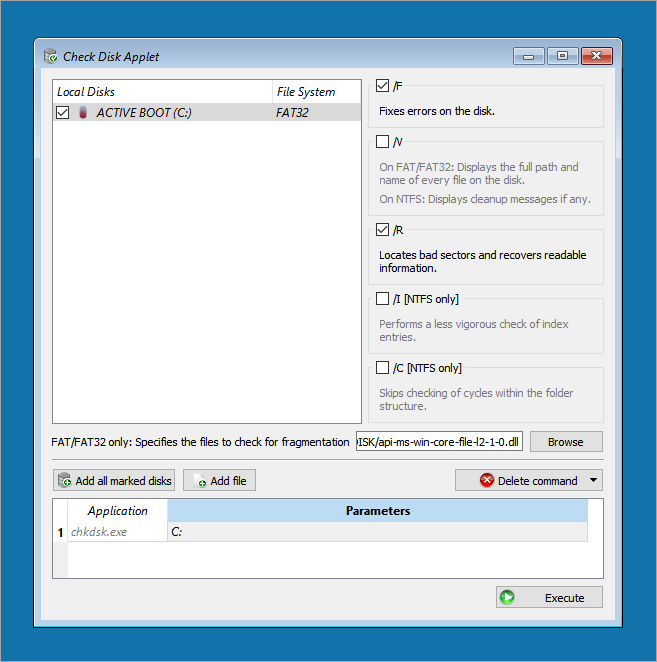
- The Check Disk Applet workspace will appear with a list of all hard drives in the Local Disks list.
- To select a hard drive use the check box next to the drive’s name.
- You can add parameters to the command:
/F- if an error is encountered, Check Disk will fix the issue that causes the error./V- on a FAT or FAT32 file system, the full path and name of every file is displayed. On NTFS file system, only cleanup messages are displayed./R- locates bad sectors and recovers readable information./I[NTFS only] – performs a less vigorous check of indexes./C[NTFS only] – skips checking of cycles within the folder structure.
On a FAT or FAT32 file system you may specify an individual file to check. To do this click Browse and choose the file from the Select File dialog box.
- After you have selected a drive and parameters, click Add all marked disks. The chkdsk.exe command appears in the Command list along with the drive letter and all parameters.
- To add another drive repeat steps 2 to 4.
- To remove a drive from the Command list, select it and click .
- To remove all drives from the Command list, click .
- To run all commands in the Command list, click Execute. A console session appears.
- Watch as the functions proceed.
After the command is completed the console session closes.