Windows-based Boot Disk is a Active@ Boot Disk Creator profile to create a bootable media based on Windows PE 10, 64-bit operating system with the set of tools and
utilities. This section describes the process of booting from media created with this profile and further working with its powerful and
effective software.
Note: Right after the Windows PE start screen, computer's display may go dark for a period of time. Wait for the start page to
load.
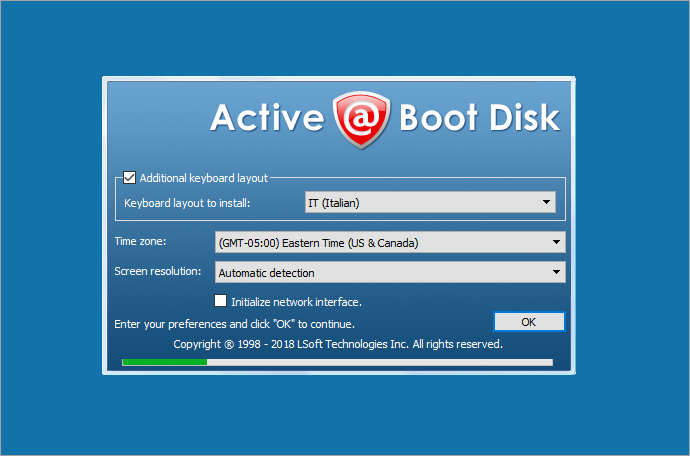
The Active@ Boot Disk start page appears:
Note: If you stay idle on this page, after the 30-second period Active@ Boot Disk will automatically continue the
boot process.
On this page you can change/add the following features:
Add a second language keyboard layout: select the Additional Keyboard layout check box and choose the
language from the Keyboard layout to install drop-down list.
Change local time zone: choose the time zone from the Time zone drop-down list.
Change screen resolution: choose a setting from the Screen resolution drop-down list.
Initialize your network card and allow a network connection, select the Initialize network interface
check box. The Active@ Boot Disk will detect and load hardware drivers and start the network connection.
This may take a long time and the screen may have black flashes (showing Command Prompt Console).
Click OK.
The Active@ Boot Disk main taskbar appears: Now you are ready to use the Active@ Boot Disk utilities.
Important: After starting the computer
this way, you will have full and exclusive access to the system drive. With this kind of access, you can perform tasks that are
not possible when Windows has been booted regularly from the hard drive. The only other way to get this type of exclusive
access to your hard drive would be to physically remove it and install it on another computer.
Note: If you have successfully booted from the CD, DVD or USB device and you do not see your C: drive because, for example, it
is a Stripe Array (RAID 0) or if you are using an
older or non-standard controller, see instructions in Start Button Menu > Load Driver.
 Note: If you stay idle on this page, after the 30-second period Active@ Boot Disk will automatically continue the boot process.On this page you can change/add the following features:
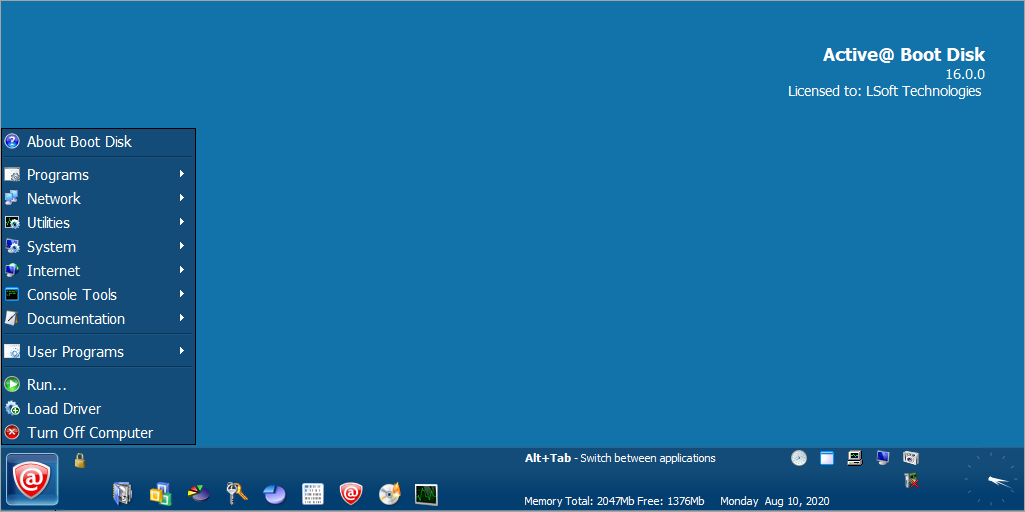 Important: After starting the computer this way, you will have full and exclusive access to the system drive. With this kind of access, you can perform tasks that are not possible when Windows has been booted regularly from the hard drive. The only other way to get this type of exclusive access to your hard drive would be to physically remove it and install it on another computer.Note: If you have successfully booted from the CD, DVD or USB device and you do not see your C: drive because, for example, it is a Stripe Array (RAID 0) or if you are using an older or non-standard controller, see instructions in Start Button Menu > Load Driver.