Active@ Disk Image
Active@ Disk Image is an ultimate solution that allows you to create an exact image of the data stored in selected partitions of a hard disk or an image of the entire hard disk. You can protect your valuable data by regularly making a disk image and keeping it in a safe place. If you have trouble with data corruption, or if you want to refer to an archived version of a file, you can easily restore the data.
The application provides many tools when it comes to backing up data on your hard disk:
- Disk to Image
- Choosing this option will open the Disk to Image View. It will help you in creating a regular type of the disk image archive of an entire disk or of selected partitions in the system
- Check Image
- Verify Image View is there to checking the integrity of the disk image archive file
- Image to Disk
- This option features Image to Disk View which will enable you to restore data from a disk image archive that you have previously created
- Clone Storage
- Enables you in transfering a sector-by-sector copy from one disk (partition) to another
Starting Active@ Disk Image
To start Active@ Disk Image:
- Select a required drive in the Local System Devices list on the main View
- From the Active@ Boot Disk shell click . After initializing, the Active@ Disk Image workspace appears (with a Disk to
Image View):
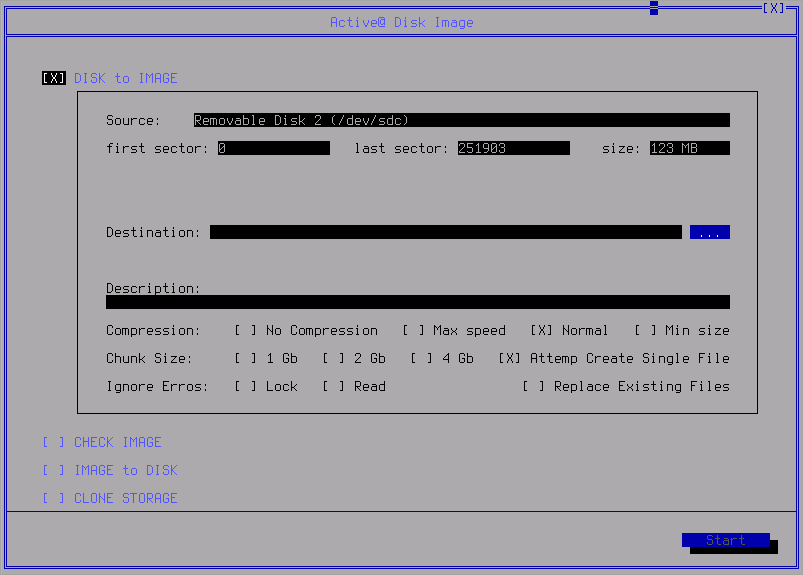
Disk to Image
The Disk to Image View makes the process of creating a disk image for a whole disk clear and straight forward.
To create a disk or partition image:
- Select Disk to Image View and specify Destination:
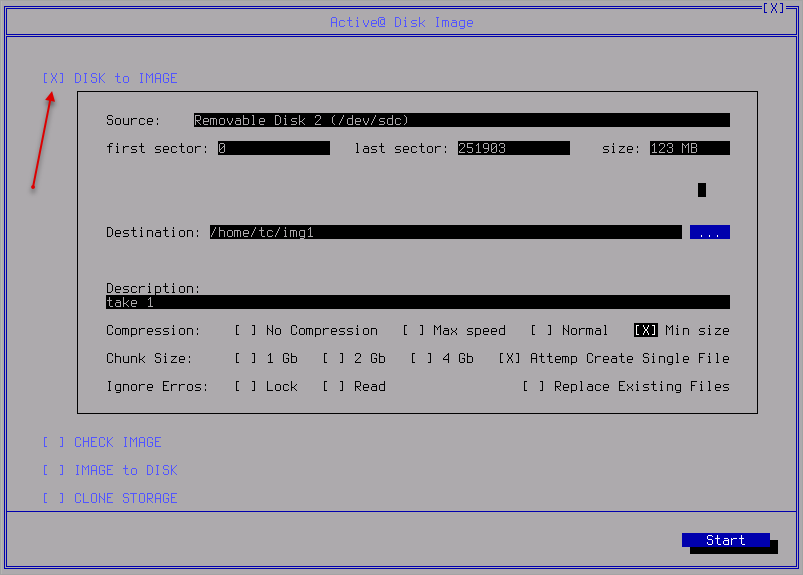
- In Description field you can put comments
- Specify the following settings:
- Compression
- No compression creates an actual image file with no compression at all.
- Chunk size
- The options are: 1, 2, 4 GB or creating a single file. Chunks are useful in cases of large storages (possible to manage chunks separately).
- Ignore errors
- Ignore errors If this option is turned on, error messages will not be displayed while data erasing or verification is in progress. These messages will be displayed in the final report after the process has been completed.
- Replace Existing Files
- Replace Existing Files allows to overwrite an existing images
- Click Start when ready. The process of creating will start. Use Stop if needed.
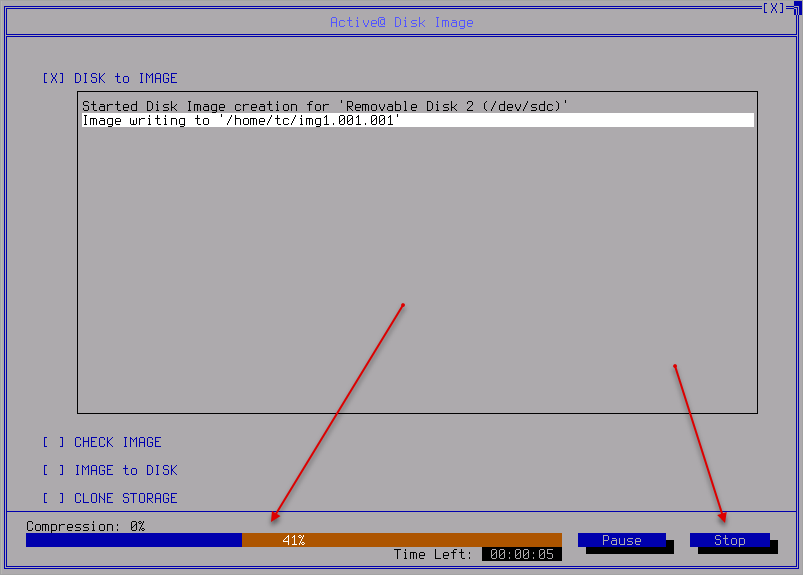
-
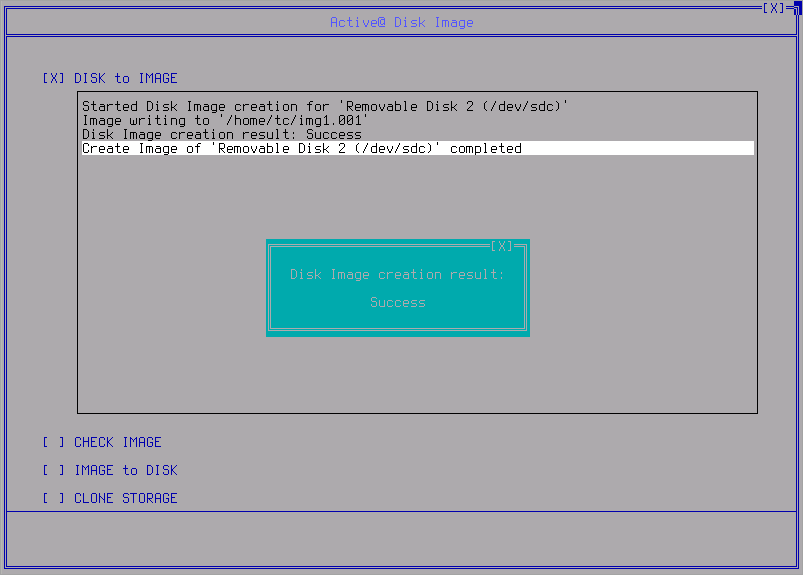
When the process is done the resume screen appears:
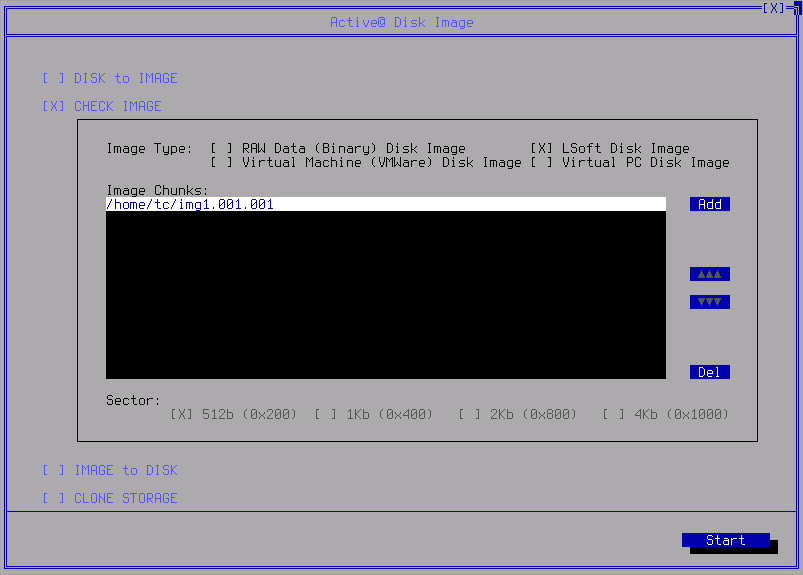
Check Image
For checking an existing image
- Navigate to Check Image View
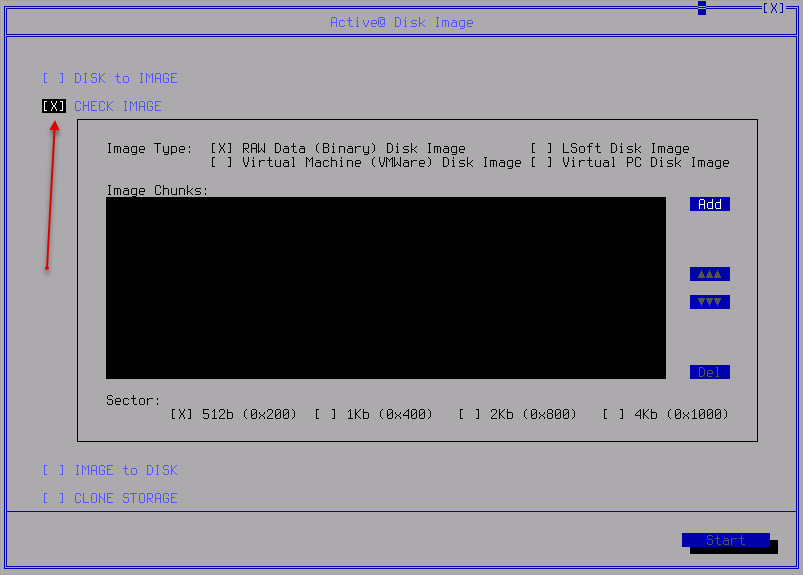
- Pick up an image to check using the Add button and setting the Image Type settings.
Click Start when ready.
- When the process is done the resume screen appears:
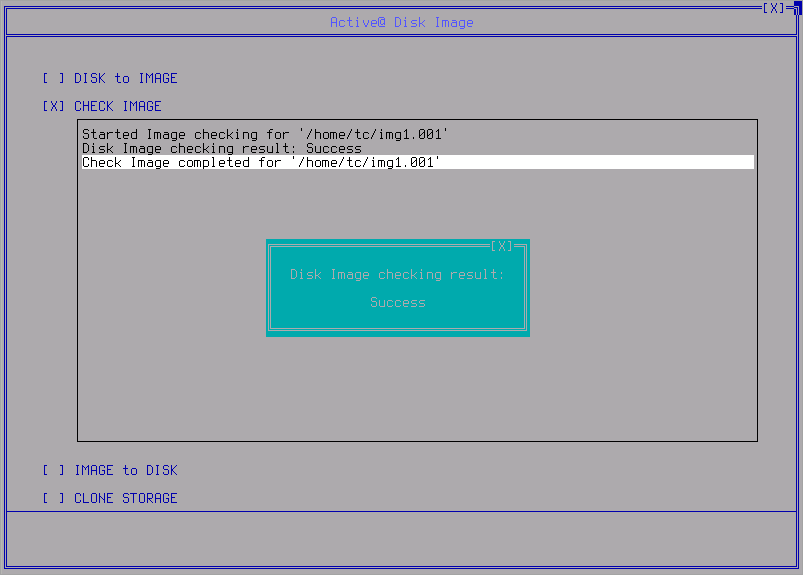
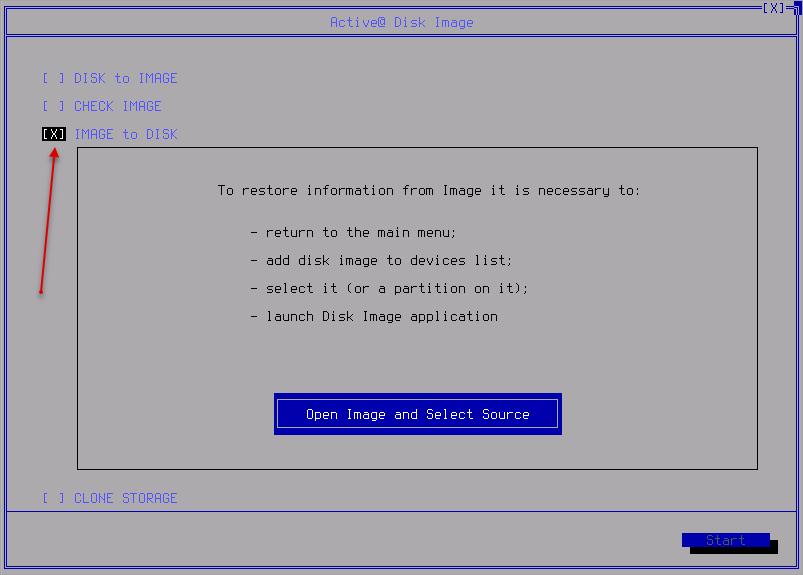
Image to Disk
Navigate to Image to Disk View and follow the instructions:
Clone Storage
- Navigate to Clone Storage View:
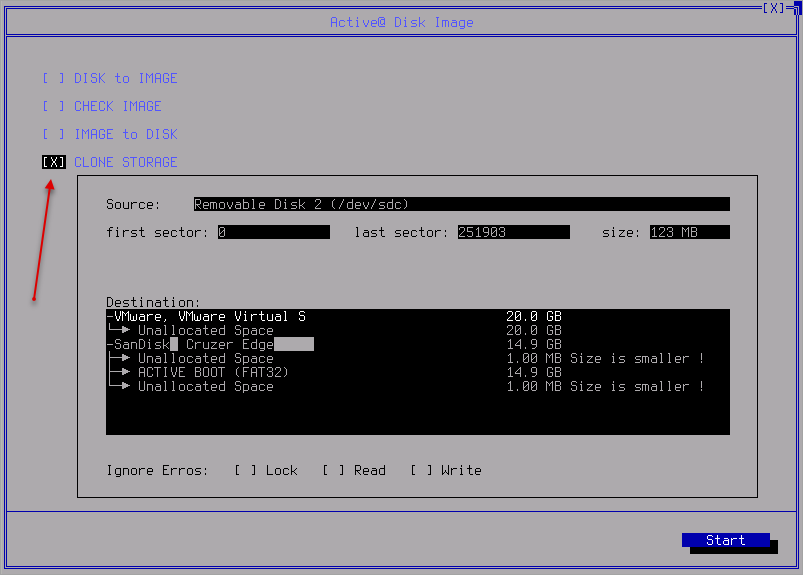
- Select a proper destination drive. The target drive must have enough space to hold all the data from the source. Click
Start when ready.
If Ignore errors option is specified, error messages will not be displayed while data erasing
or verification is in progress. These messages will be displayed in the final report after the process has been
completed.
Note: The clone operation must have exclusive access to the target disk while writing to it. Before you confirm the details of the clone operation, disk image software Active@ Disk Image attempts to lock the target disk for exclusive access. If another application or the operating system is using the target disk, you must close all applications or system processes that may be using the target disk.Note: An actual clone is an exact copy of the source. So you cannot specify the size of the destination drive. If you choose a destination storage that is larger than the source, a free (unallocated) space will appear after the cloned dump (data).