Monitor the reliability status of your local hard drives to help prevent data loss due to hard drive failure. Use this utility to perform
maintenance tasks on hard drives in the system.
Note: This is a free version of this utility and some functions are disabled. Some functions that are enabled apply only when using the
standalone version of Active @ Hard Disk Monitor
To use Active@ Hard Disk Monitor:
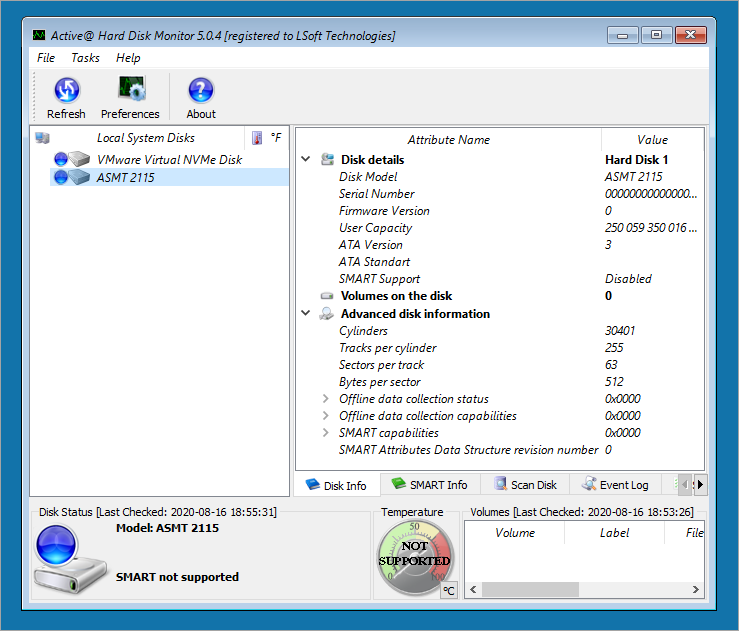
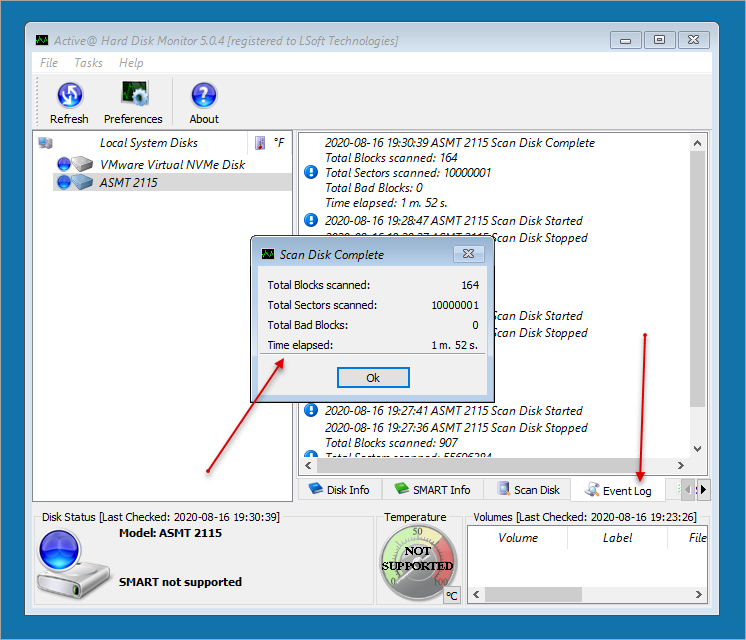
From the Active@ Boot Disk shell click Start > Programs > Active@ Hard Disk Monitor. The Active@ Hard Disk Monitor workspace appears:
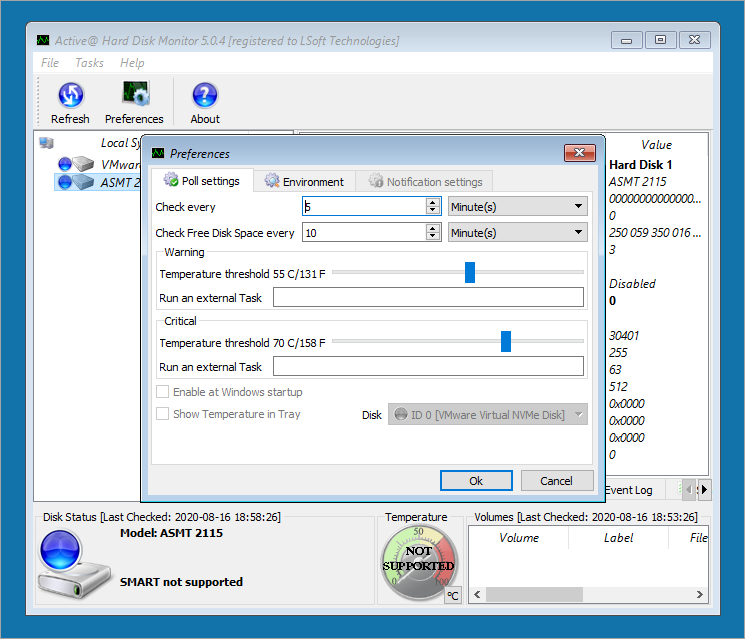
To change the settings of the utility click Preferences.
When the Preferences dialog box appears, do the following:
In the Poll settings tab:
To change the frequency for checking status of the device, make changes in the Check every fields.
To change the frequency for checking the amount of free disk space, make changes in the Check Free Disk Space
every fields.
To show which disk to monitor choose it from the Disk drop-down list.
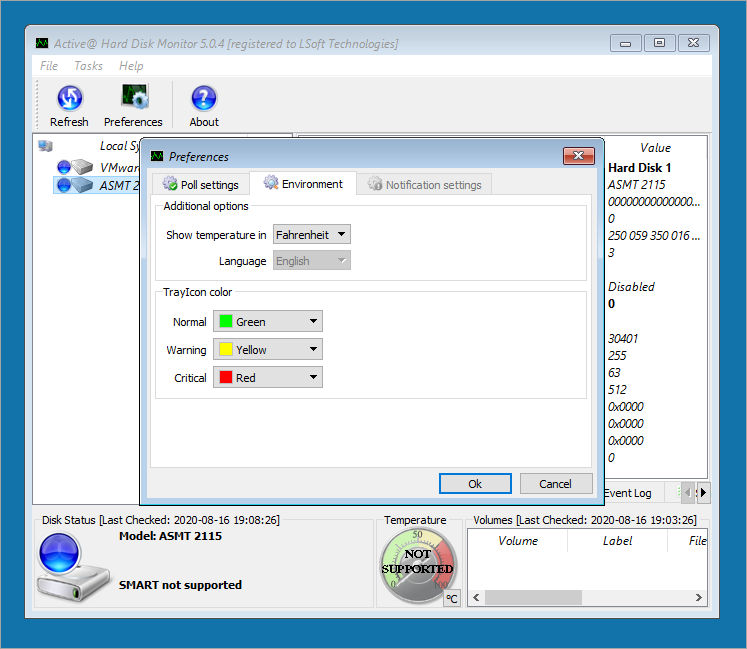
In the Environment tab:
To change how drive temperature is displayed, choose a different setting in the Show temperature in
drop-down list.
To change the appearance of the workspace choose a different setting in the Style drop-down list.
From the Local System Disks list click a device to select it. Information about the selected device will be
shown in the right panel.
To display attributes about the device click the Basic Info tab. Attributes appear in the panel.
To display SMART attributes click the SMART Info tab.
Performance and health attributes appear in the panel.
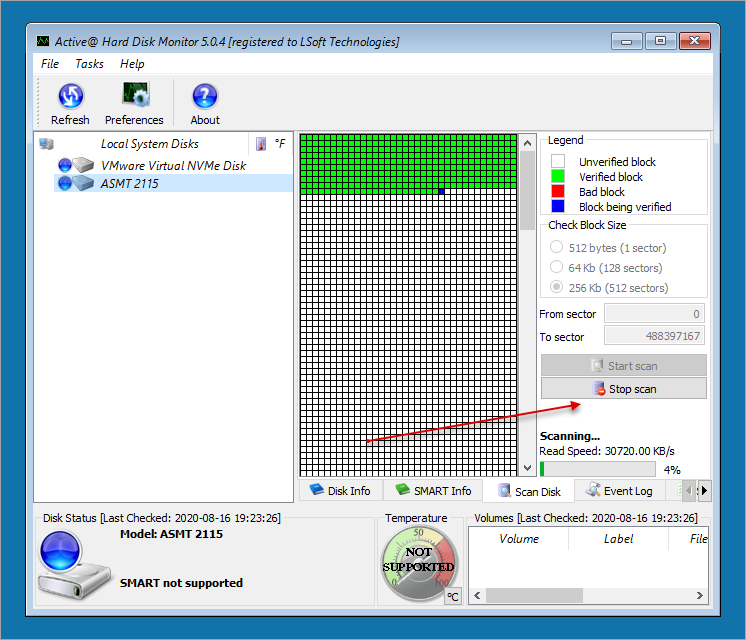
To scan the selected device for bad blocks click the Scan Disk tab and do the following:
To change the block size: in the Check Block Size area choose one of the three options.
To specify a start sector and a stop sector for the scan, type the sector numbers in the From
sector and To sector fields.
Click Start Scan. The process will start indicating the progress in the bar.
To stop the scan at any time click Stop Scan.
After the scan is complete, the Scan Disk Complete message box will appear with the scan details.
To view a list of events run in the session click Event Log. A list of events appears in the
panel.
Note: For more detailed instructions and support see the Active@ Disk Monitor User Guide at Start > Documentation.