This log contains all the history of the current Active@ Boot Disk session: Use Clear Log or Save Log to File (F2) to manage the content
Refresh Disks F5
Refreshes the Local System Devices list on the main View
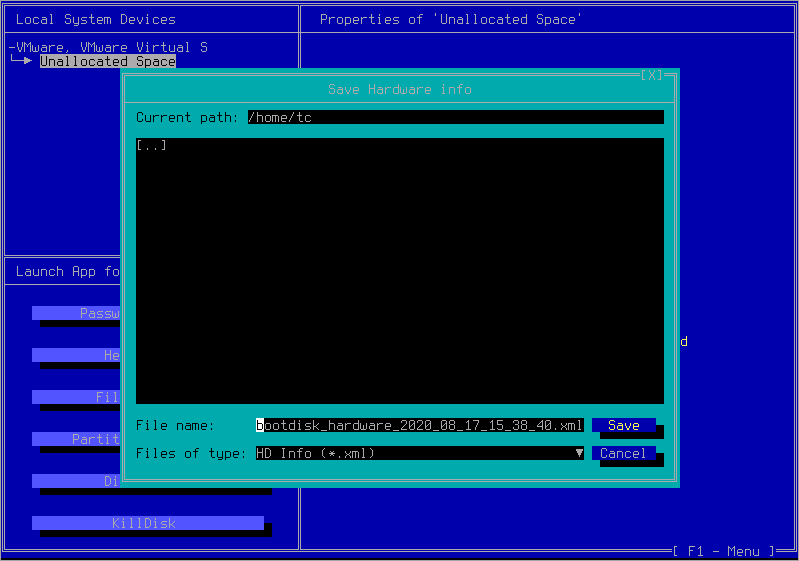
Save Hardware Info F6
Opens a dialog for saving the workstation's Hardware Information in XML-format:
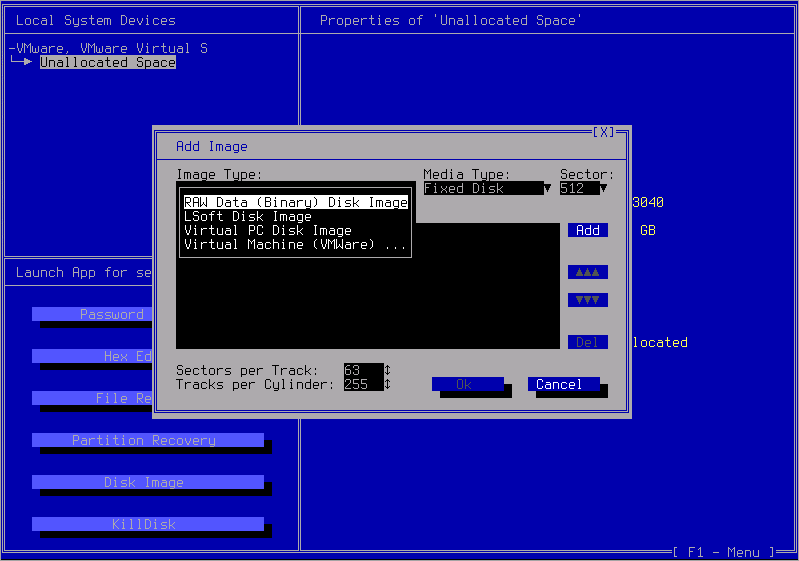
Add Image to Device List F8
Opens a dialog for adding a Disk Image of different types to the Local System Devices list on the
main View:
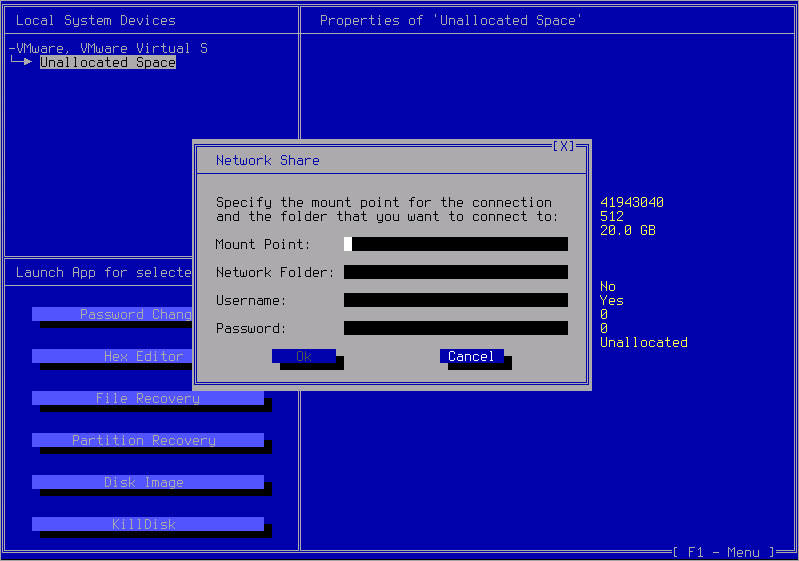
Map Network Share F10
In Mount Point combo specify the mount point for the connection to be assigned
In Folder field type the server name and share the name of computer (or folder) For example:
"\\servername\sharename"
If it is necessary to change the username in order to map the selected drive, do the following:
Enter the domain name and the username that has a permission to connect to the selected computer or folder
Enter the password for the user named above
Click Ok
Note: Mapped drives are available only when the host computer is available. Network drives are assigned letters from Z to A, and local drives
(your hard drive and removable storage devices) are assigned letters from A to Z. You can assign a computer or shared folder to a
different drive letter by disconnecting from the drive and then reassigning it to a new drive letter.
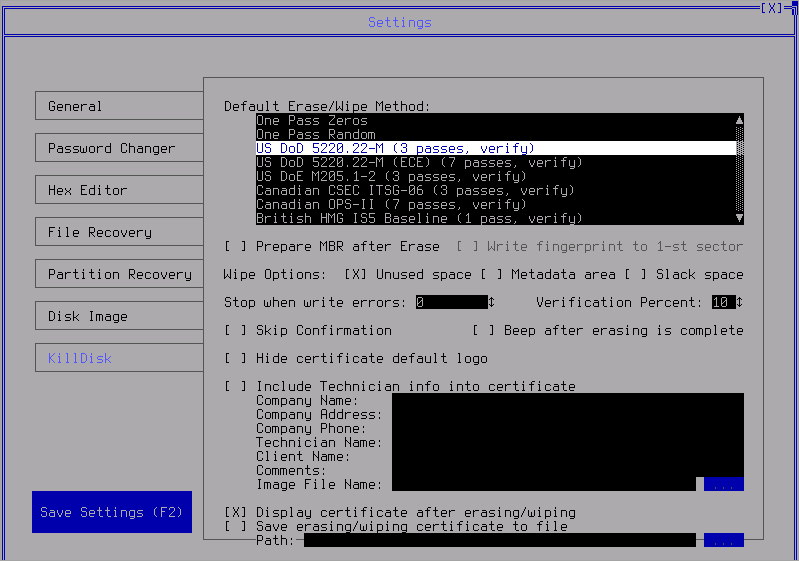
Settings F2
Calls the dialog with the Active@ Boot Disk programs' settings:
Figure 1: KillDisk settings
Quit Ctrl > Q
Is used for closing the Active@ Boot Disk shell
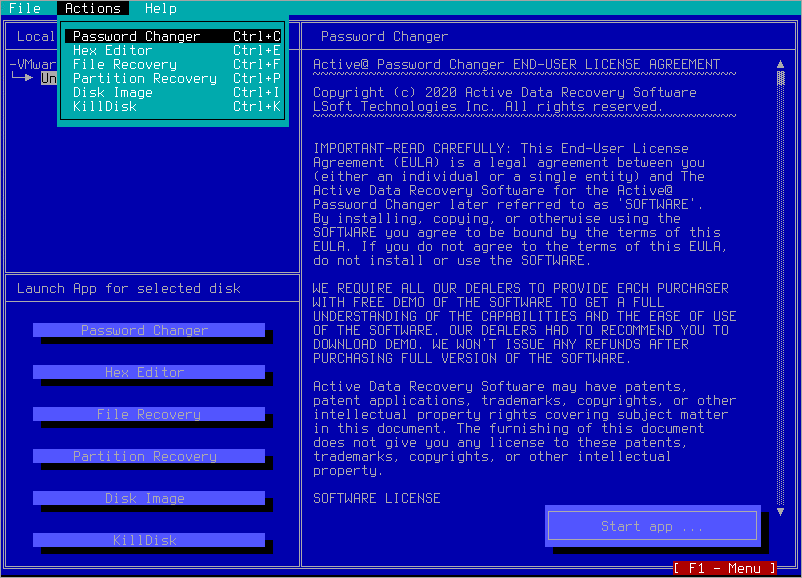
The Actions submenu contains a list of shortcuts of Active@ Boot Disk programs: